
Cleaning your dog’s ears may not be on your weekend to-do list. But if you’ve noticed that funky “doggy ear smell,” you know it can’t be ignored for long.
Dirty ears not only smell bad; they can cause infections, itching, and an unhappy pup.
I’ve cleaned many floppy, furry ears, and it’s easier than it seems once you learn how. With the right approach, it can become a simple task, just like brushing their coat or trimming their nails.
So, if you want to know how to clean dog ears safely at home without a wrestling match, you’re in the right place.
Why Cleaning Dog Ears Matters
Dogs are adventurous little creatures. They roll in the grass, dig in the dirt, and somehow manage to sniff every questionable corner on your morning walk.
With all that exploring, it’s no surprise that their ears can pick up dirt, wax, and sometimes even pests.
If you skip regular cleaning, you risk:
- Ear infections that can cause pain and hearing issues.
- Excess wax buildup that makes your dog constantly scratch.
- Unpleasant odors that spread faster than you can say “bath time.”
Here’s the deal: clean ears don’t just look good, they keep your pup comfortable and healthy. Ever noticed your dog shaking their head nonstop? That’s their way of saying, “Hey, something’s up in here.”
Know Your Dog’s Ear Type First
Not all ears are created equal. Some dogs practically self-clean, while others act like dirt magnets.
Floppy Ears
Think Cocker Spaniels or Basset Hounds. These floppy beauties are adorable, but they trap moisture and debris like crazy. You’ll need to clean them more often.
Upright Ears
German Shepherds, Huskies, and similar breeds usually have upright ears. They’re less prone to problems, but they still need occasional care.
Hairy Ears
Breeds like Poodles often grow hair inside their ear canals. This hair can hold wax and block airflow, which makes infections more likely.
So, before you start cleaning, ask yourself: what kind of ears am I dealing with? That answer helps you decide how often you should check and clean.
Check out the top-rated dog ear care products on Amazon
How Often Should You Clean Dog Ears?
This is one of those “it depends” situations. You don’t want to clean too much because overdoing it can actually irritate the ear canal. On the flip side, if you wait too long, you’re just inviting bacteria to party.
Here’s a simple guideline:
- Floppy ears: Once a week or every two weeks.
- Upright ears: Once a month or as needed.
- Dogs with allergies or frequent swimmers: Weekly check-ups are smart.
The best rule of thumb? Check regularly and clean when necessary. If the ears look pink, smell normal, and have a small amount of light wax, you can probably leave them alone for now.
What You’ll Need Before You Start
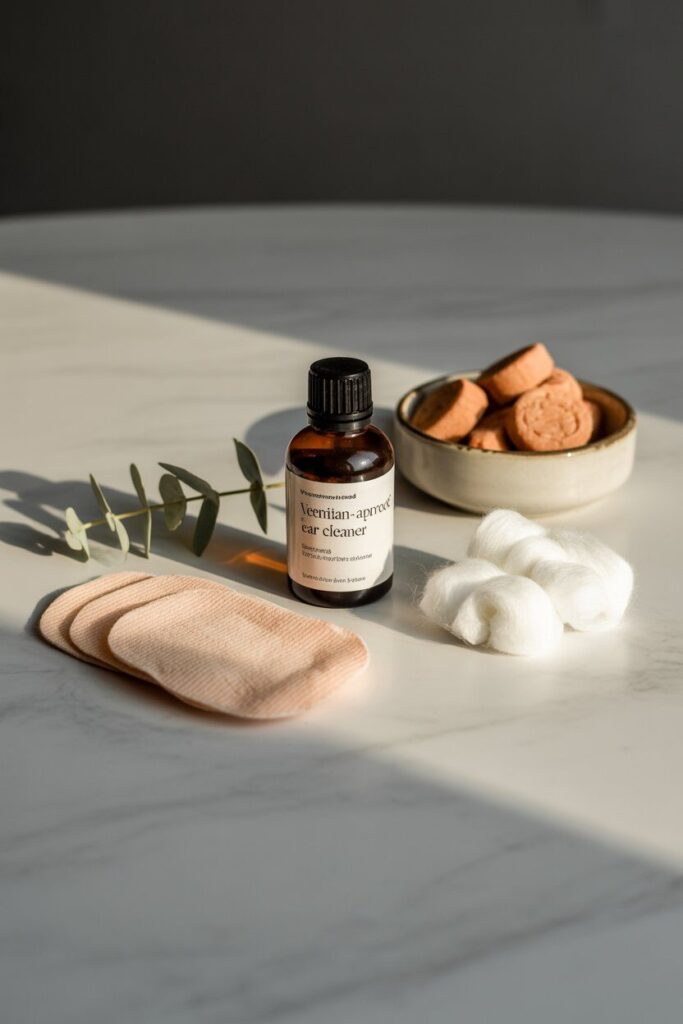
You don’t need a vet’s toolkit to handle this. A few household-friendly items will do:
- Dog ear cleaning solution (never use alcohol or hydrogen peroxide—they sting).
- Cotton balls or gauze pads (avoid Q-tips, they push gunk deeper).
- Towel (trust me, things can get messy).
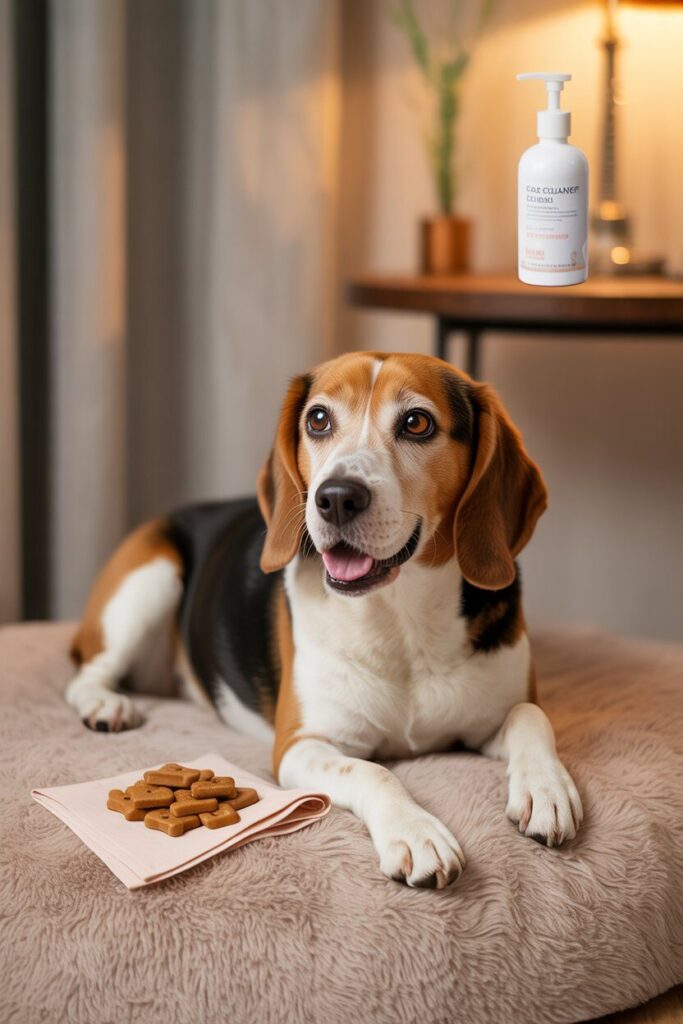
- Treats (the secret weapon to keep your dog from staging a protest).
Optional but helpful: someone to hold your pup if they tend to squirm. If not, well, prepare for a little dance routine in your living room.
Shop gentle ear cleaners for dogs directly on Amazon today
Step-by-Step: How to Clean Dog Ears Safely at Home

Step 1: Create a Calm Environment
Pick a quiet spot and get your supplies ready. Your dog senses your mood, so stay calm and patient. A little ear scratch before you begin doesn’t hurt either.
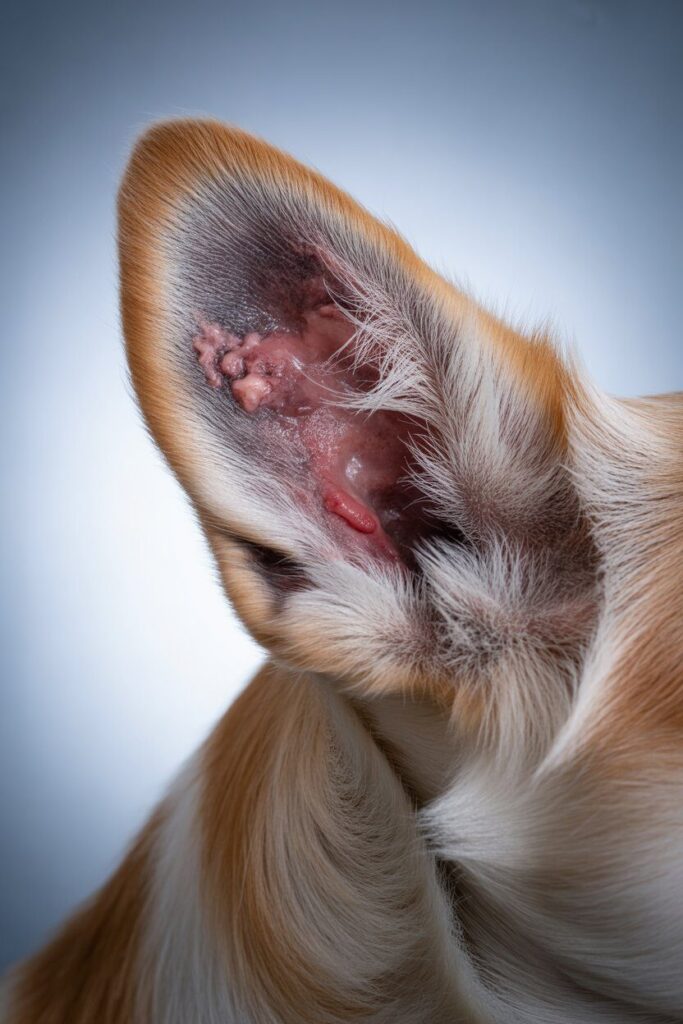
Step 2: Inspect the Ears
Look inside the ear. Do you see redness, swelling, discharge, or smell something foul? If yes, stop right there and call your vet. Cleaning an infected ear can make things worse. If everything looks normal, you’re good to go.
Step 3: Apply the Cleaning Solution
Hold your dog’s ear flap upright and squeeze enough solution into the ear canal to fill it. Don’t be shy—your dog will shake it out anyway.
Step 4: Massage the Base
Gently massage the base of the ear for 20–30 seconds. You’ll probably hear a squishy sound, which means the cleaner is breaking down the gunk. Weirdly satisfying, right?
Step 5: Let the Shake Happen
This is where you cover yourself with that towel. Once you let go, your dog will shake their head like they’re auditioning for a shampoo commercial. It’s messy, but it helps bring debris to the surface.
Step 6: Wipe the Ear
Use cotton balls or gauze to wipe away loosened dirt and wax from the outer ear canal. Stop when the cotton comes out clean.
Step 7: Reward Time
Hand over the treat and give them some praise. Positive reinforcement makes future cleanings way easier.
Things You Should Never Do
Let’s clear up some common mistakes people make when they first try ear cleaning at home:
- Never use Q-tips. They push wax deeper and risk damaging the eardrum.
- Don’t use vinegar, alcohol, or peroxide. They’re harsh and painful.
- Don’t clean too often. Over-cleaning strips natural oils and causes irritation.
Remember: safe cleaning keeps your dog happy, not traumatized.
Find safe and effective dog ear care picks on Amazon
Signs Your Dog May Have an Ear Problem
Sometimes cleaning isn’t enough. Dogs can develop infections, especially if they’re prone to allergies or swim a lot. Watch for these signs:
- Persistent head shaking.
- Excess scratching at the ears.
- Redness or swelling inside.
- Strong odor coming from the ear.
- Dark brown or yellow discharge.
If you see any of these, don’t play vet. Call the professionals. Ear infections can get painful fast, and your dog deserves relief.
Personal Tips That Make It Easier
Over the years, I’ve picked up a few tricks that make ear cleaning way less stressful:
- Do it after playtime. A tired dog is less wiggly.
- Keep sessions short. Don’t drag it out; just clean and move on.
- Pair it with grooming. When you brush their coat, check the ears too.
- Use high-value treats. Peanut butter or chicken usually wins over any resistance.
And here’s a fun little hack: talk to your dog the whole time. I swear mine behaves better when I keep chatting like it’s a casual hangout, not a medical procedure.
What If Your Dog Hates Ear Cleaning?
Some dogs just won’t cooperate, no matter how many treats you offer. If yours acts like you’re torturing them, don’t force it. Forcing can damage trust and, honestly, your hands too.
Try these instead:
- Break the process into smaller steps. Maybe just inspect the ears one day and clean lightly the next.
- Get a helper to gently hold the dog while you clean.
- Make ear handling a regular thing, even outside cleaning time. That way, your dog gets used to it.
If it’s still impossible, ask your vet or a professional groomer for help. There’s no shame in outsourcing when safety is at stake.
Final Thoughts
Learning how to clean dog ears safely at home is one of those little responsibilities that makes a big difference in your pup’s life. Clean ears mean fewer vet visits, less scratching, and a much happier dog.
It doesn’t take fancy tools, just some patience, the right cleaner, and a towel (seriously, don’t skip the towel). Make it part of your grooming routine and treat it like bonding time rather than a chore.
At the end of the day, your dog doesn’t care how perfectly you clean. They just appreciate that you care enough to do it.
And if you can keep their ears fresh while avoiding the dreaded ear infection, that’s a win for both of you.
How Do I Know If My Dog’s Ears Need Cleaning?
Check your dog’s ears regularly for wax, dirt, or strange smells. If you see redness, smell something off, or notice more scratching, it’s time to clean.
Healthy ears are usually pink and clean, with a bit of light wax. If you’re unsure, ask your vet before cleaning.
Don’t clean too often, as it can irritate the ears. Most dogs only need a cleaning once a week or every two weeks. If your dog loves swimming or has floppy ears, check them more often.
What Is the Safest Solution to Clean Dog Ears?
The safest choice is a veterinarian-approved dog ear cleaner. These cleaners break down wax and remove dirt gently, protecting the sensitive ear canal.
Avoid vinegar, hydrogen peroxide, or alcohol, as they can sting and harm delicate tissues.
Always check the label to ensure the cleaner meets your dog’s needs. Some are for regular use, while others help dogs that get infections. If you’re not sure, ask your vet for a safe recommendation for your pup.
Can I Use Cotton Swabs to Clean My Dog’s Ears?
No, don’t use cotton swabs (Q-tips) to clean your dog’s ears. They push wax and debris deeper into the ear canal, worsening the issue. In some cases, they can even harm the eardrum if you go too far.
Instead, use cotton balls or gauze pads. These let you safely wipe the outer ear without pushing anything inside. The ear cleaning solution will loosen dirt, and your dog’s natural head shake will help bring it up.
How Often Should I Clean My Dog’s Ears?
How often you clean depends on your dog’s breed and lifestyle. Dogs with floppy ears, like Basset Hounds, may need weekly cleanings.
Their ears trap moisture and debris. Breeds with upright ears, such as Huskies, usually need cleaning only once a month.
The key is observation. Check your dog’s ears weekly. Clean them only when you see dirt or smell odor. Over-cleaning can remove natural oils and irritate the ears. Focus on balance, not a strict schedule.
What Are Signs My Dog Might Have an Ear Infection?
If your dog has an ear infection, you might see head shaking, frequent scratching, redness, swelling, or a bad smell.
Discharge that is brown, yellow, or bloody is also a warning sign. Infections can become painful fast, so don’t wait to see if it improves.
If you notice these symptoms, skip home cleaning and call your vet right away. Trying to clean an infected ear at home can make things worse.
A vet can give medication and suggest the best treatment to keep your dog comfortable.